Step 7 was to cut the basic hill forms from foam sheets, rough-matching the contours from board to board with careful measurement. The hills were built in steps, including a long projecting ridge as part of the first step. This irregular shape needed to be cut from two pieces of foam, then glued together and to the base board.
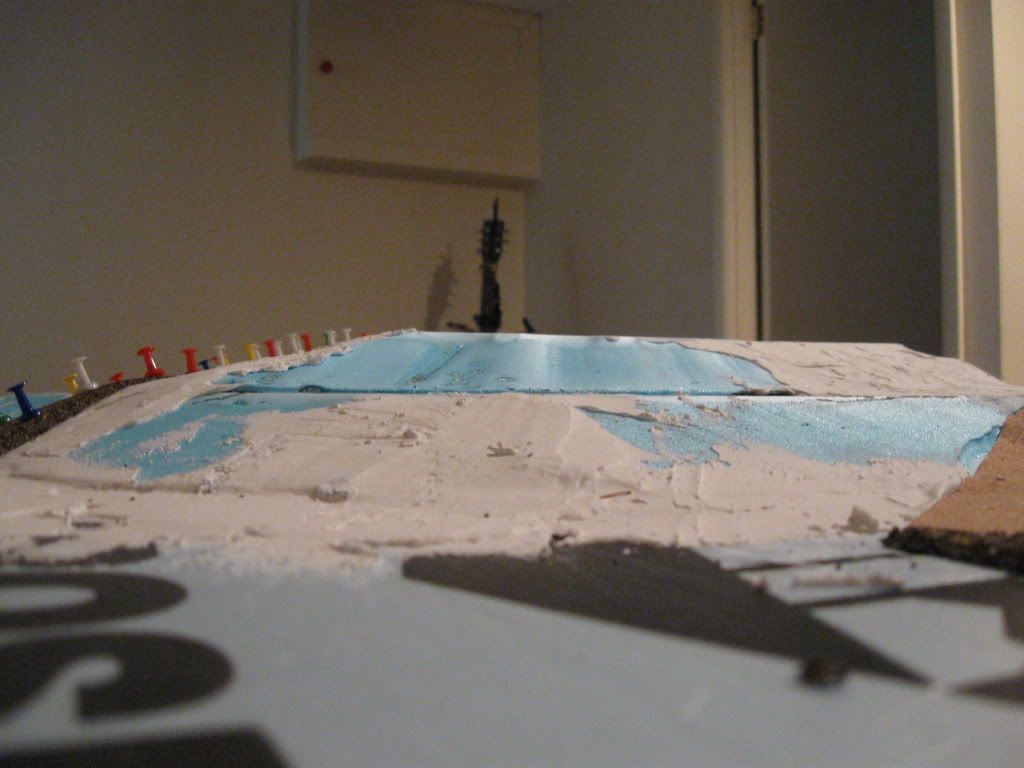
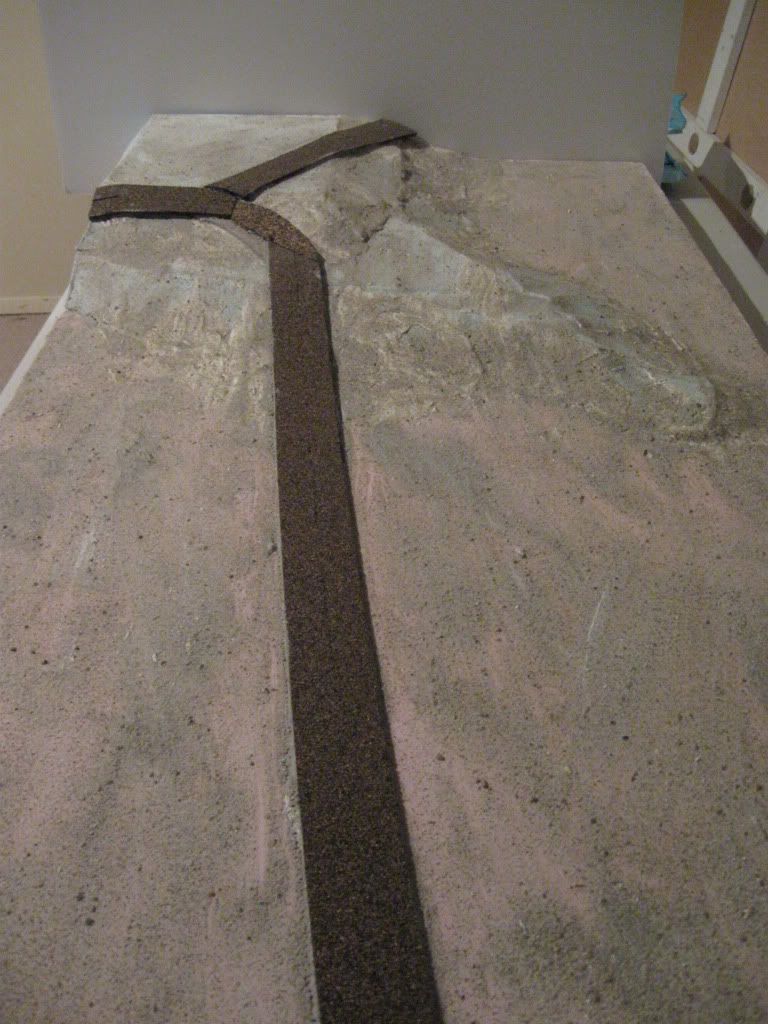
An ant's eye view along the two joining boards shows the steps rising in the distance:
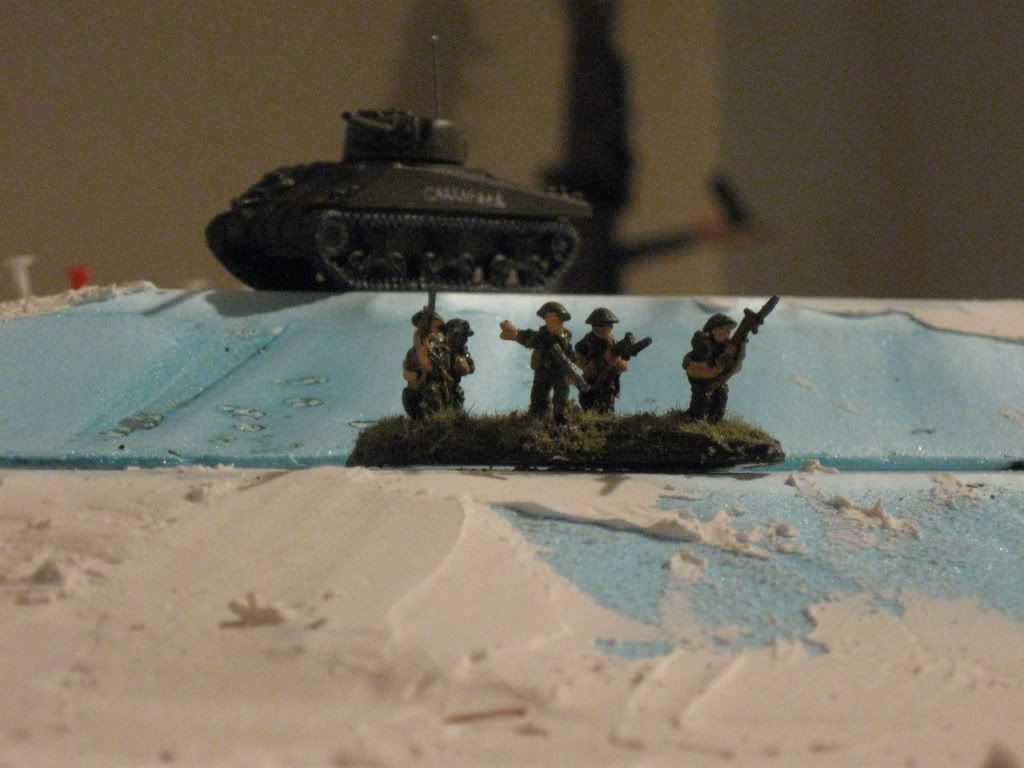
Once each hill shape had been cut, I used the foam knife to carve the slopes. From experience making other hills, the slope always needs to be more gentle than you'd expect to keep miniatures from sliding down or otherwise being fiddly to place. These hills were cut with a 1:2 slope (2 or more inches of run for the 1 inch rise of each step).
A couple of quick notes on cutting foam. I've used a wire-style cutter in the past and never liked the limitation of having to maneuver the U-frame and wire, and they seemed flimsy. I've switched to a hot knife foam cutter, but temperature control is much trickier with this - too cool and the cuts go very slowly, too hot and very bad things happen (cuts get more aggressive and less controlled, and the surfaces can melt badly or drip melted foam where you don't want it). With my knife, this means treating the power switch like a throttle and backing off when the cut is moving quickly enough. Most of the hill here is a second attempt after getting some practice in on a failed first attempt.
Second note: the fumes and smoke from foam insulation are seriously toxic. I use a half-face filter mask/respirator but twenty minutes of working with foam is enough to leave my eyes burning. And while making the long, angled cuts for the hill shapes where I shouldn't have been (in a closed basement) I looked up to find an inch-thick cloud of smoke floating below the ceiling. Use a mask and ventilate well.
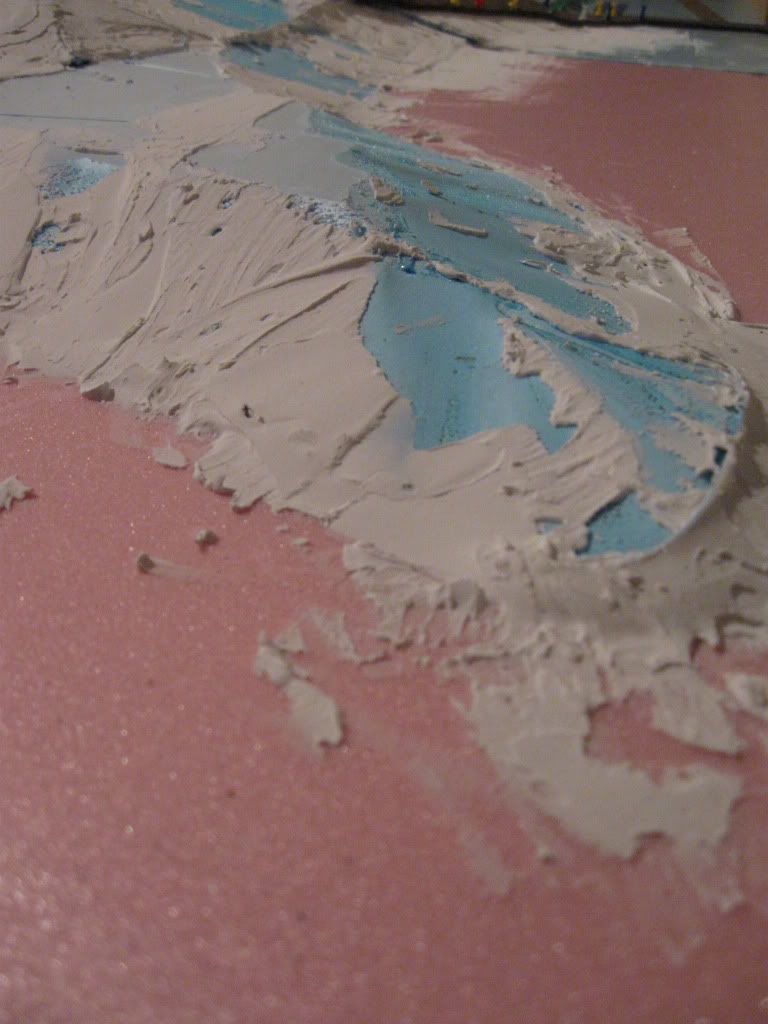
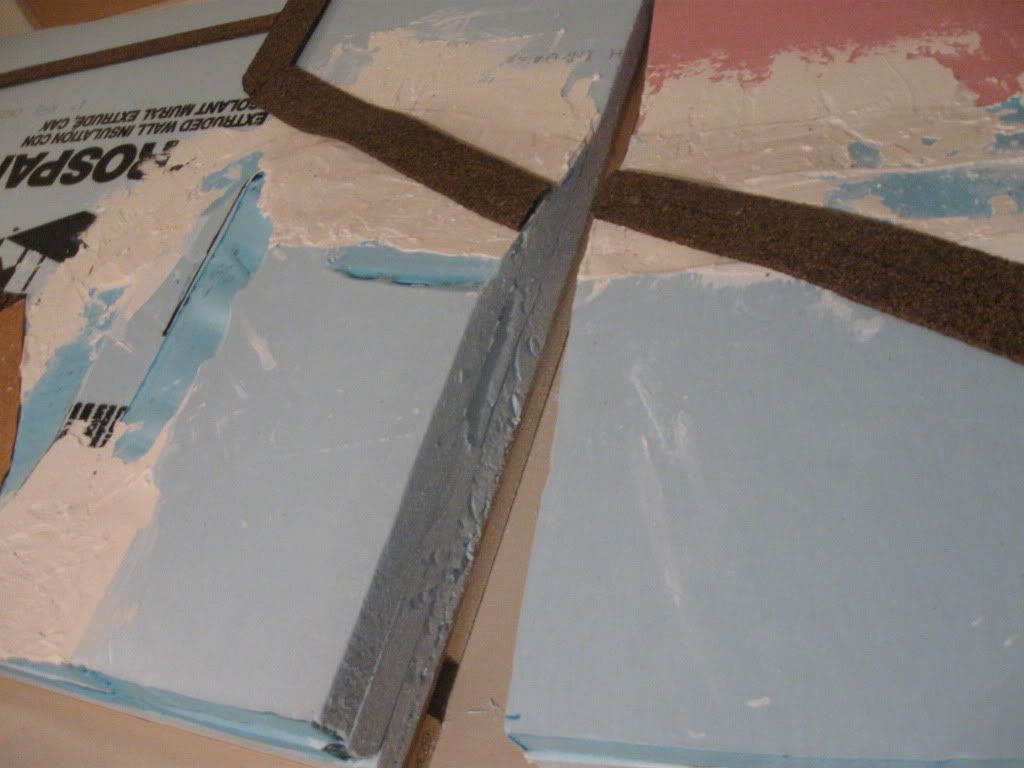
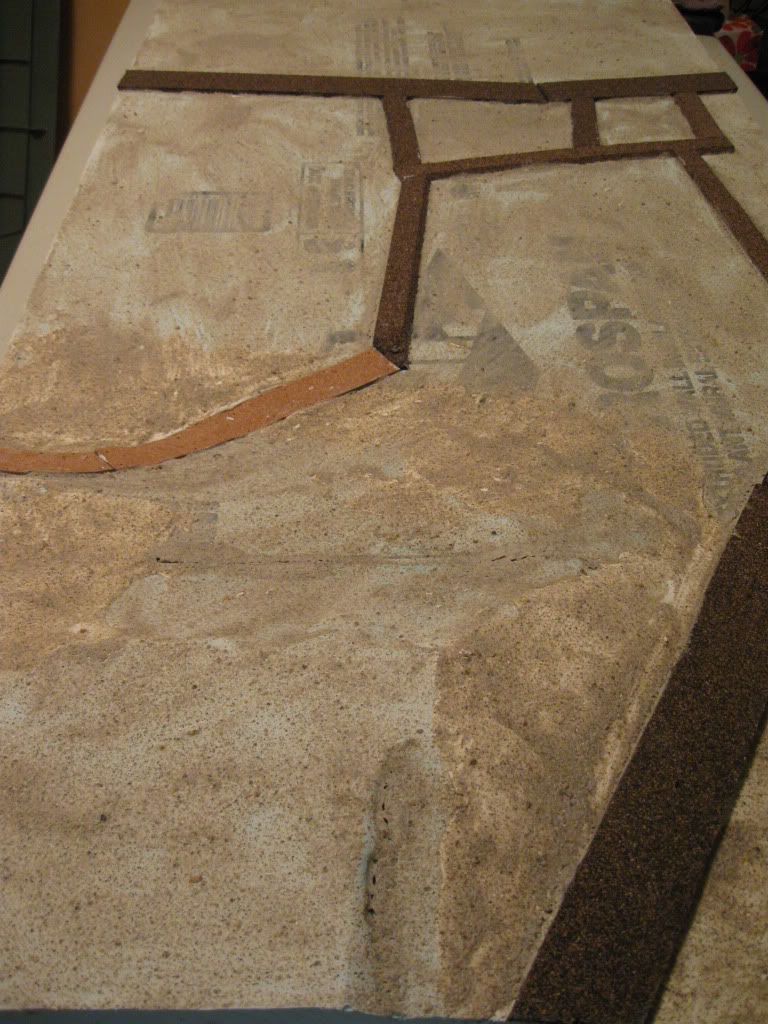
To smooth the contours, help with any irregularities in the cuts, and blend the steps and boards together, Step 8 was to use a fair amount of patching plaster. I then took a large file to the slopes to smooth out the plaster. In the photo above you can see the plaster in place before filing.
Step 9 was a repeat of laying cork roads, with the added complication of getting these to adhere across the stepped slopes. This meant easing or levelling some of the grades with a little plaster, and I had to pin these roads much more extensively.
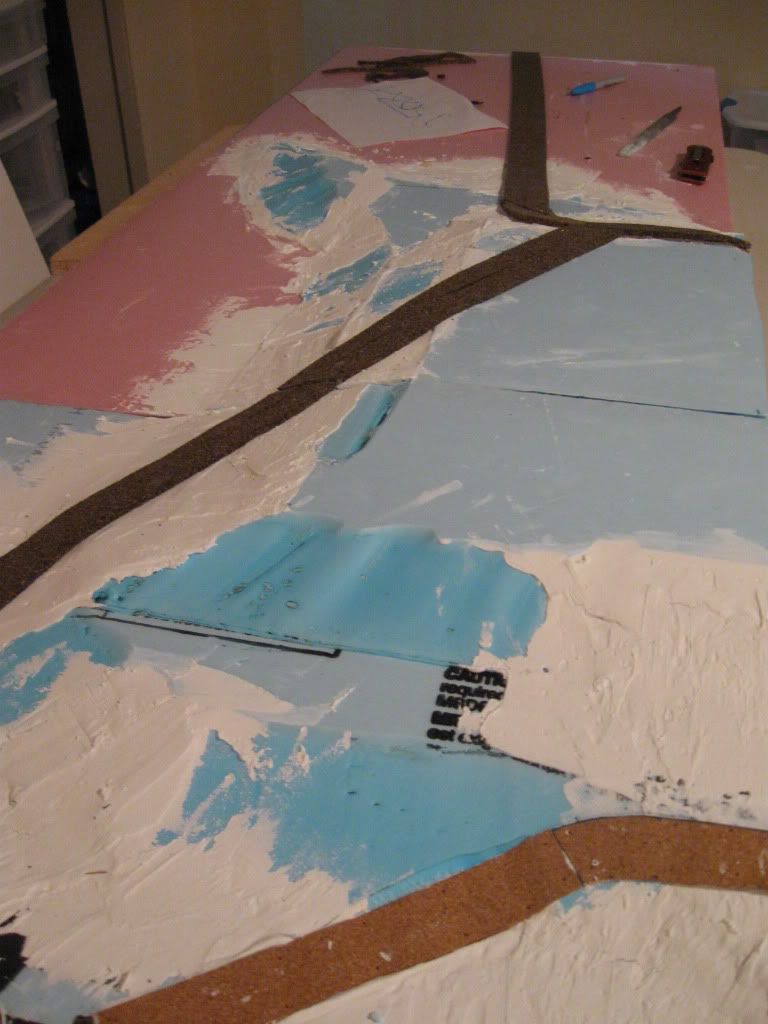
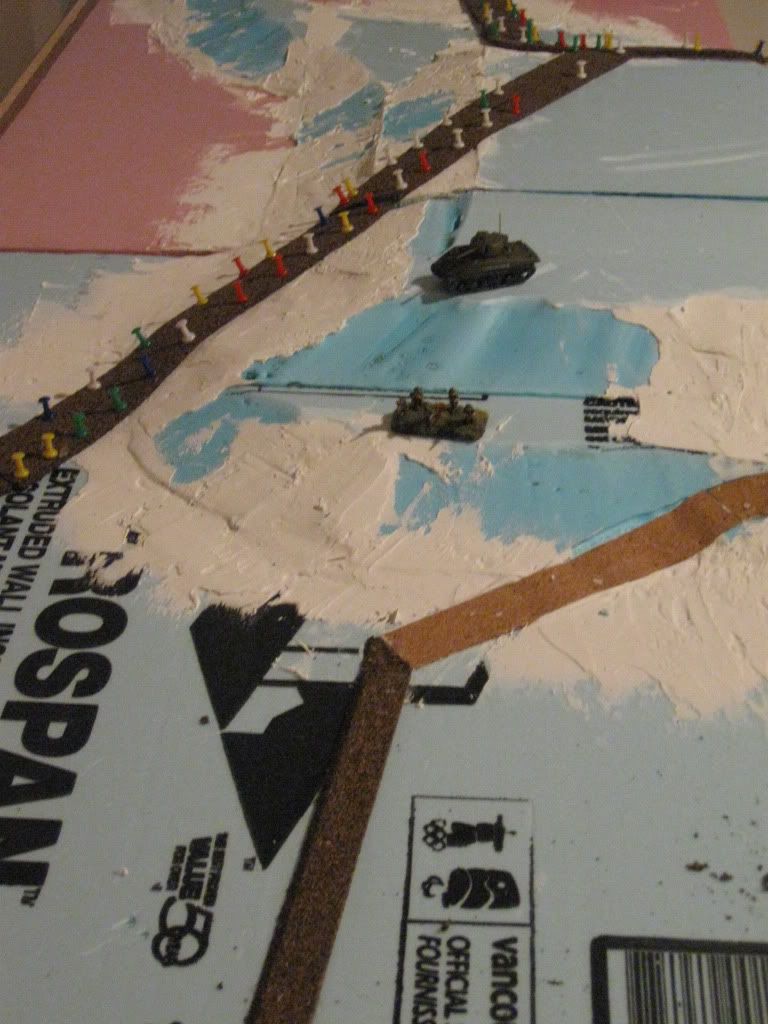
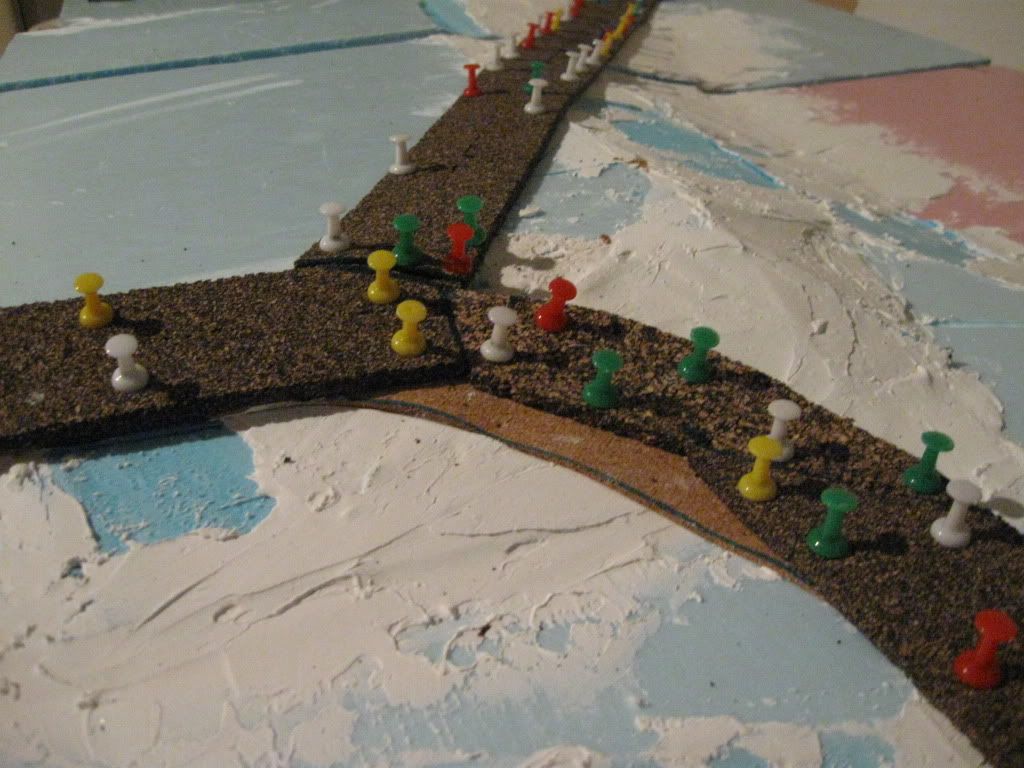
In these images you can see one of the tricks I used to align the boards: I just ran a single long piece of cork road across the two different boards butted against each other as they would fit during play, and pinned and glued it in place there. Once the glue was completely dry I took my craft knife (yes, the same one I dropped through one of the boards) and cut the two sections apart.

After adding texture to the hills, this left me with eight boards ready for finishing.
One final note about the hill boards: they weigh significantly more than other boards with the added foam and plaster, and their centres of balance are very different with the hill in one corner of each board. This was an issue for working with them and when setting up.
No comments:
Post a Comment