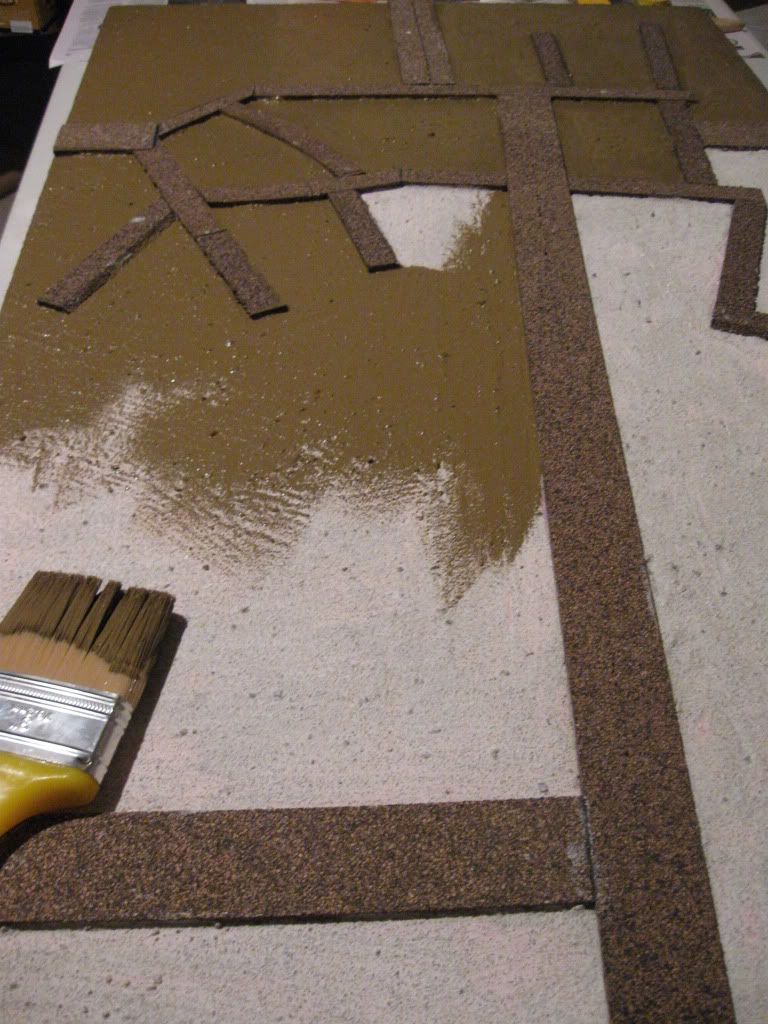
Because this step left the kind of monochromatic ground we're trying to avoid, I followed up by spending some time poring over paint chips to decide on a complementary colour for highlighting. I wanted a complementary sand- or buff-colour to brighten the highlights and to double as a base colour for some of the later features like sand dunes.
Once I had a colour chosen and mixed, in Step 11 I applied a heavy dry-brush coat. Dry-brushing is a technique used in miniatures painting where a lighter shade of a base colour is applied after the brush is charged with a little paint and then almost all the paint is wiped from the brush. Since there is less liquid paint in the brush, the bristles leave only traces of paint over surface features and the paint stays where it's put rather than flowing into gaps. On miniatures this can be done very delicately in layers with successively lighter colours to create good light-and-shadow effects even with low-relief surface details. With a heavy dry-brush there's more paint and more pressure, so the paint gets applied to the highest- and mid-relief points (the larger textures in the sand) while leaving the darked undercoat in the "valleys".
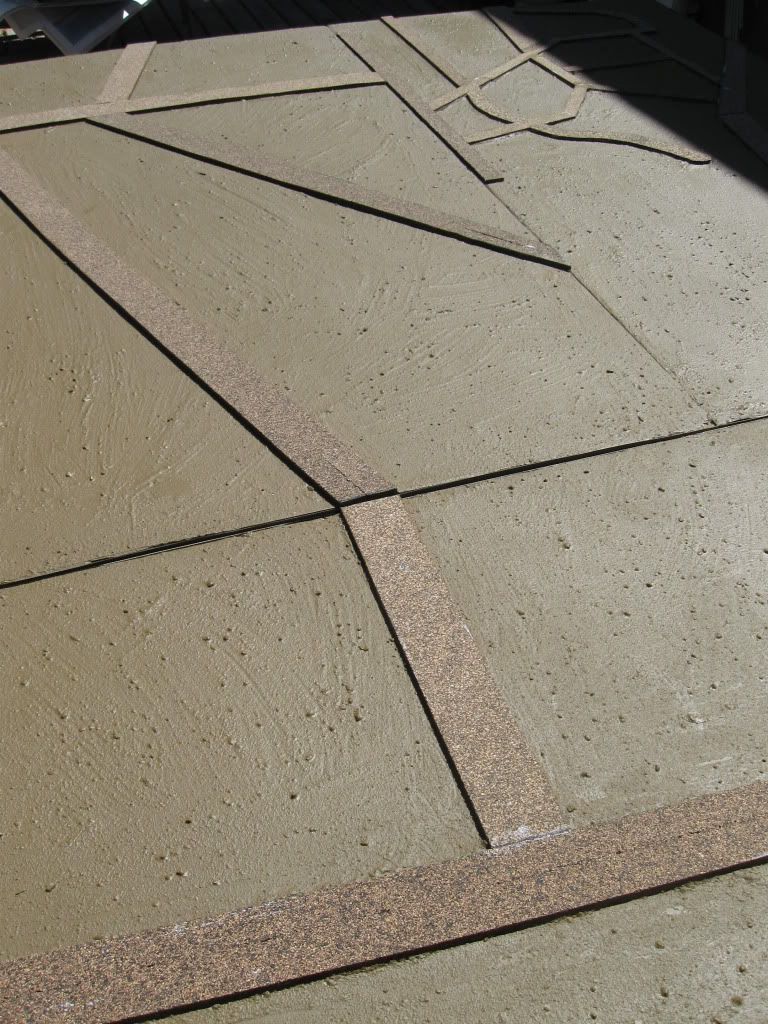
With the colours being lighter mixes of the original, this creates a blending effect where it's harder to tell where shadows end and highlights begin, but in this image you can see the light and dark contrast, especially around the larger grains.
A later stage would involve flocking, which ends up covering most of the paint work with artificial vegetation. So you could probably argue the highlighting is redundant. But I've found with miniatures and terrain that there's enough show-through to give the work a sense of depth, and the highlighting helps to pull together the painted groundwork and the colour scheme of the flock.
I should make a point about costs here. Hardboard bases were about C$5 each; foam sheets (making two flat boards or one hill board from one sheet) run about C$16 here; a gallon/4L of PVA glue is about C$25; pre-mixed patching plaster was C$8-9 for a 1 quart /1L tub and I eventually used two of those; cost of sand and hardware was about C$10; and paint ran a bit more than C$25 per gallon / 4L times two, with some left over. So the average cost per board (considering eight boards eventually) to this stage was:
board and frame: $15
board and frame plus texture: $20
board and frame plus texture and paint: $25.
I'll come back to cost of flocking - but I guess the lesson is that almost half the cost and most of the labour is in the finishing materials.
No comments:
Post a Comment