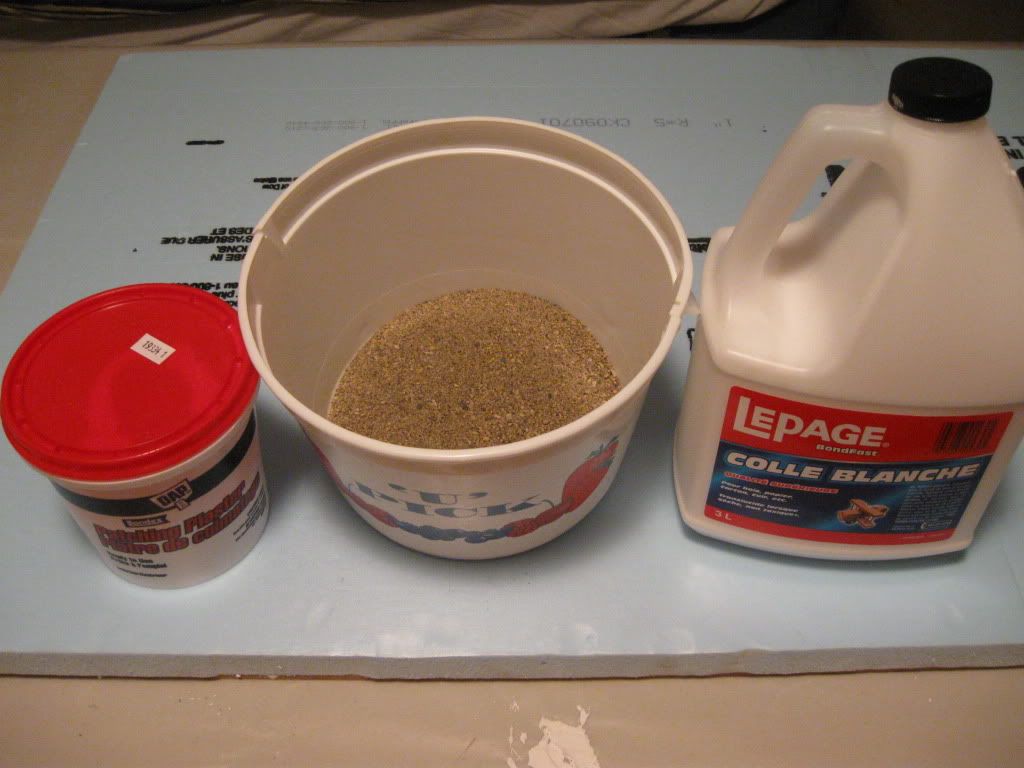
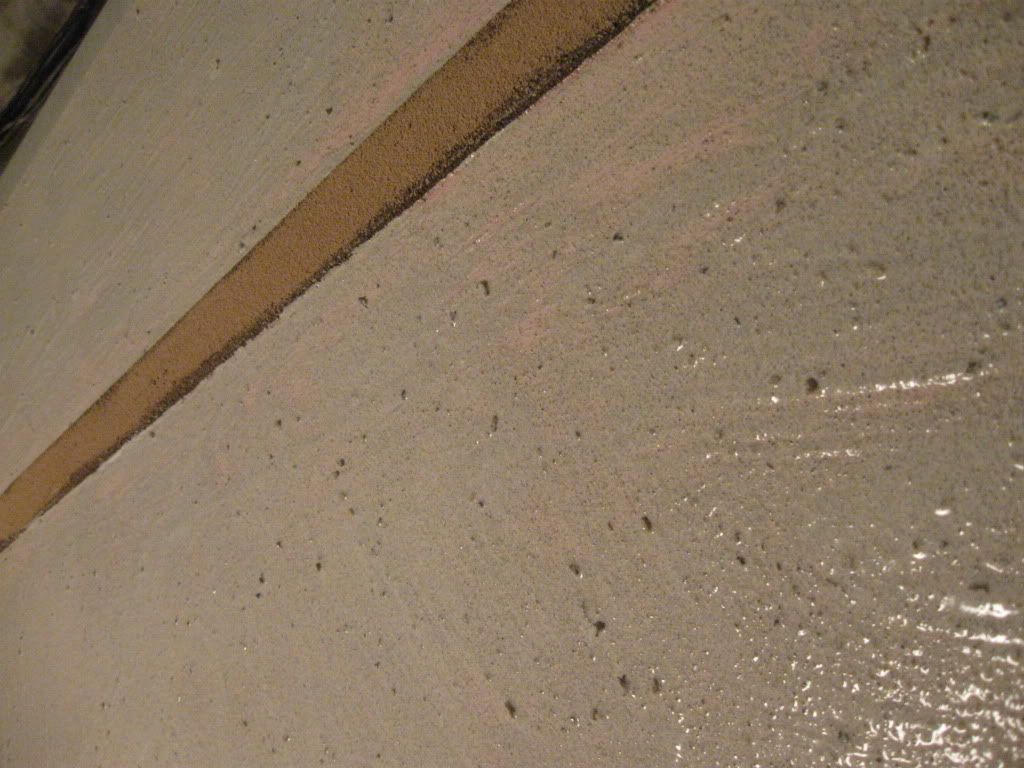
For Step 6, my base materials were play sand (bought in a 50-lb bag), PVA glue and more patching plaster mixed together to make a slurry. The sand gives texture and some strength, the plaster gives a spreadable medium and more strength, and the glue binds it all together. I started out mixing these ingredients in thirds, but my original mixture was too thick, so I ended up adding some water for a 25-25-25-25 mix.
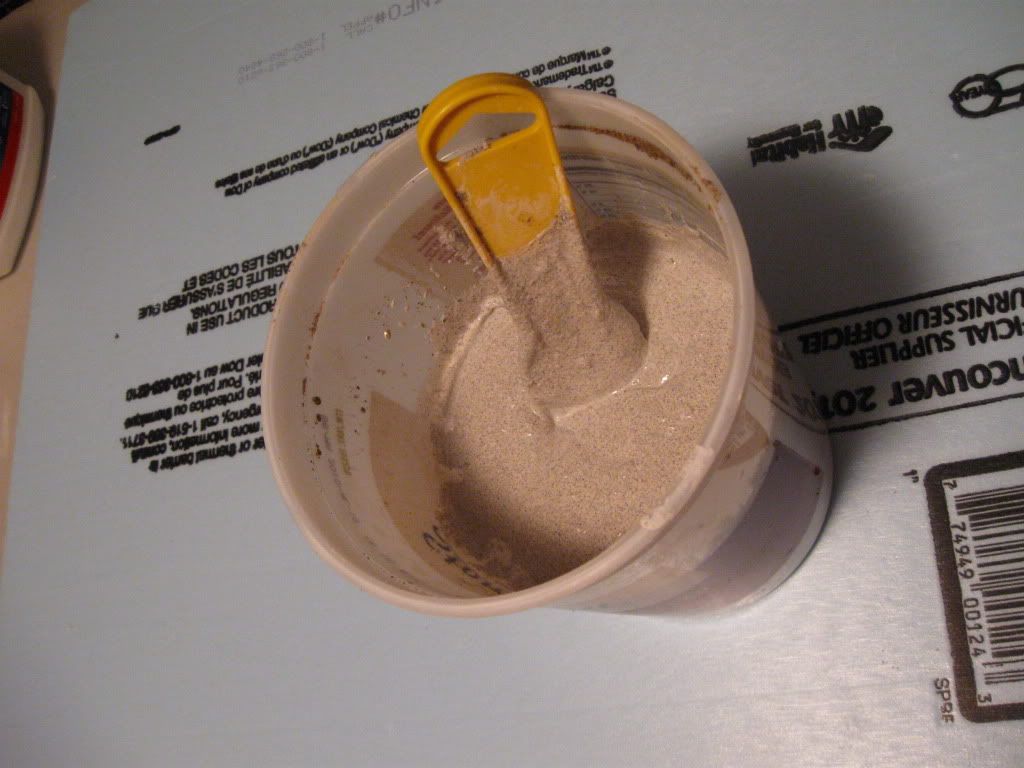
I just mixed a reasonable amount in a bucket. It goes a long way if it's fluid enough. Because the sand I used isn't a uniform size, the first batch had some larger pieces mixed in and these added more variety to the surface texture.
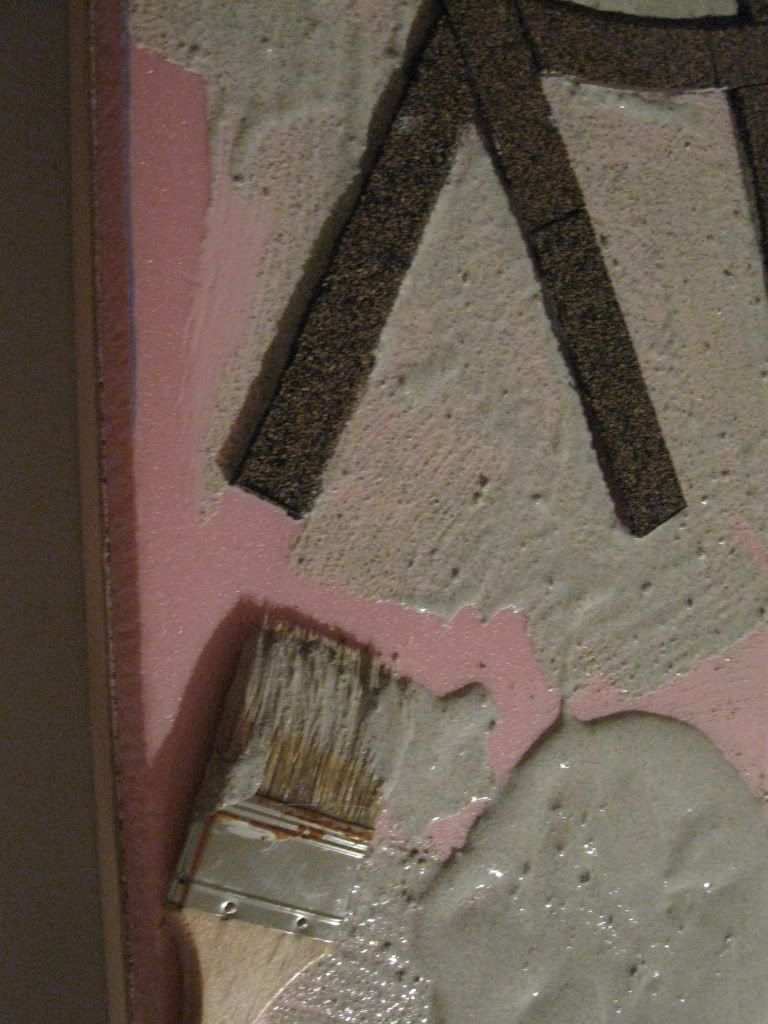
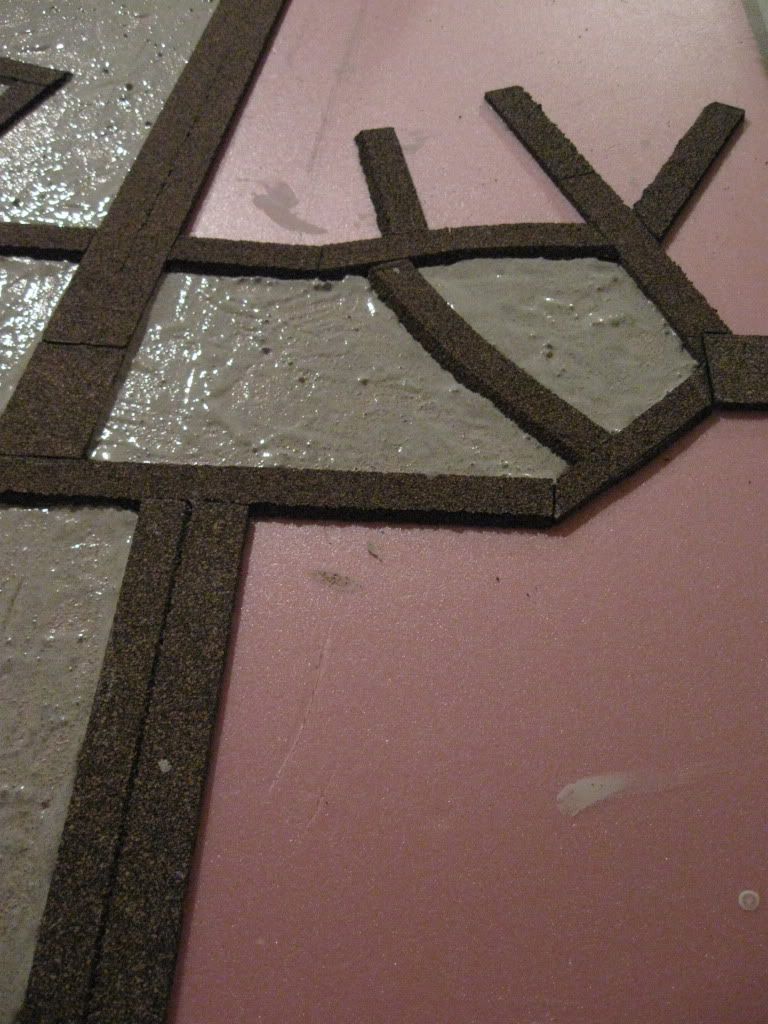
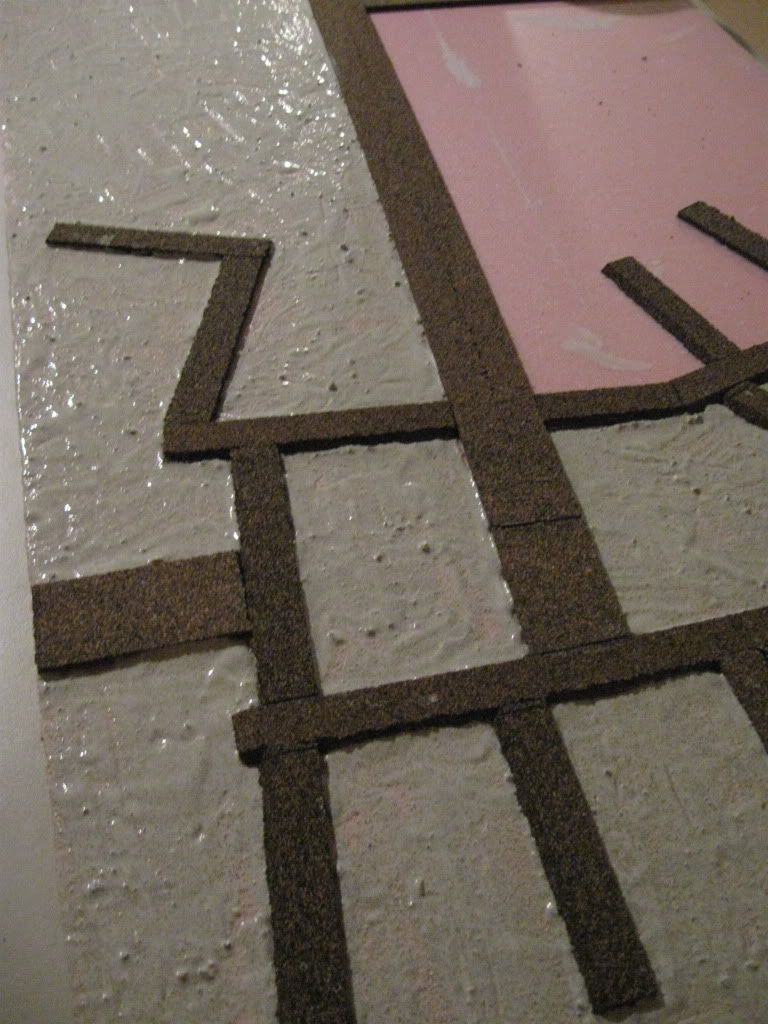
Initially I tried to spread the slurry with a palate knife, which worked but was slow and tended to drag texture where I didn't always want it. Plan B was to thin the mixture a little further and apply it with a cheap paint brush, and that worked much better. I just poured a pool somewhere central and worked outward from there. Too large a pool or area and you might lose the workability of the mix. The most difficult part was working the slurry into the edges of the roadways - leaving a little foam showing to be fixed later during painting.
I did try one board with the slurry added before the roads, which prevented that particular problem but gave me some trouble with getting the cork roads to sit completely flat.
I made a later batch of slurry with the sand sifted better for more uniform texture, and used this mixture mostly in the urban areas where buildings models would have to sit on top of the texture.
Eventually I had six boards fully textured and checked for modular fit:
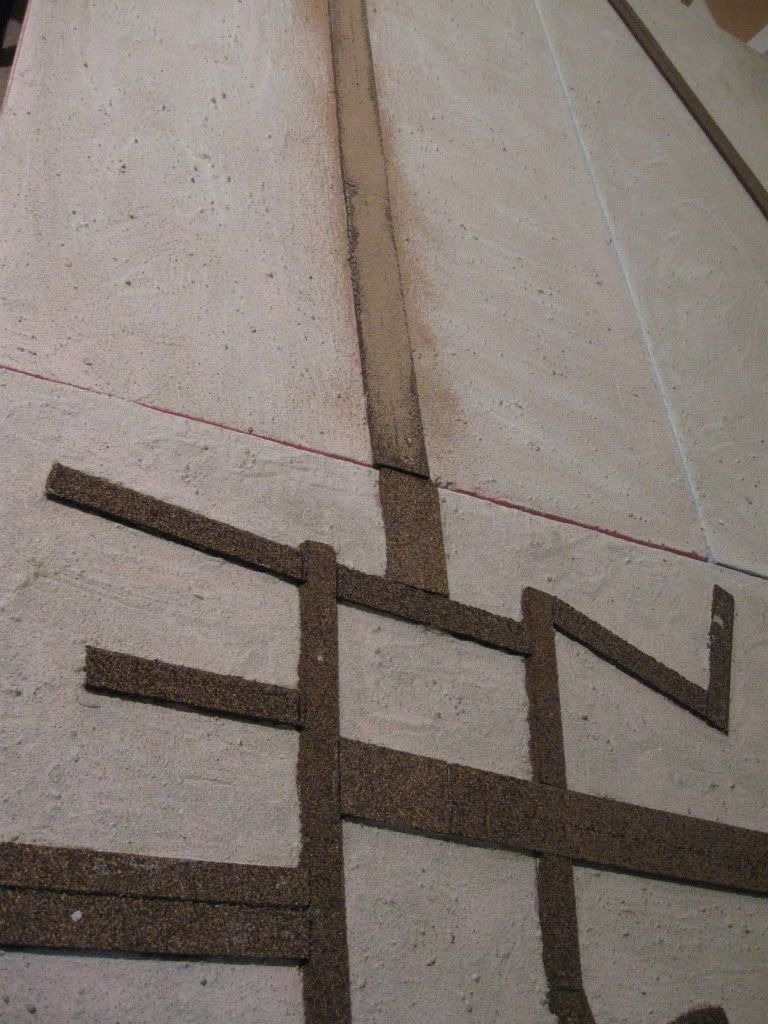
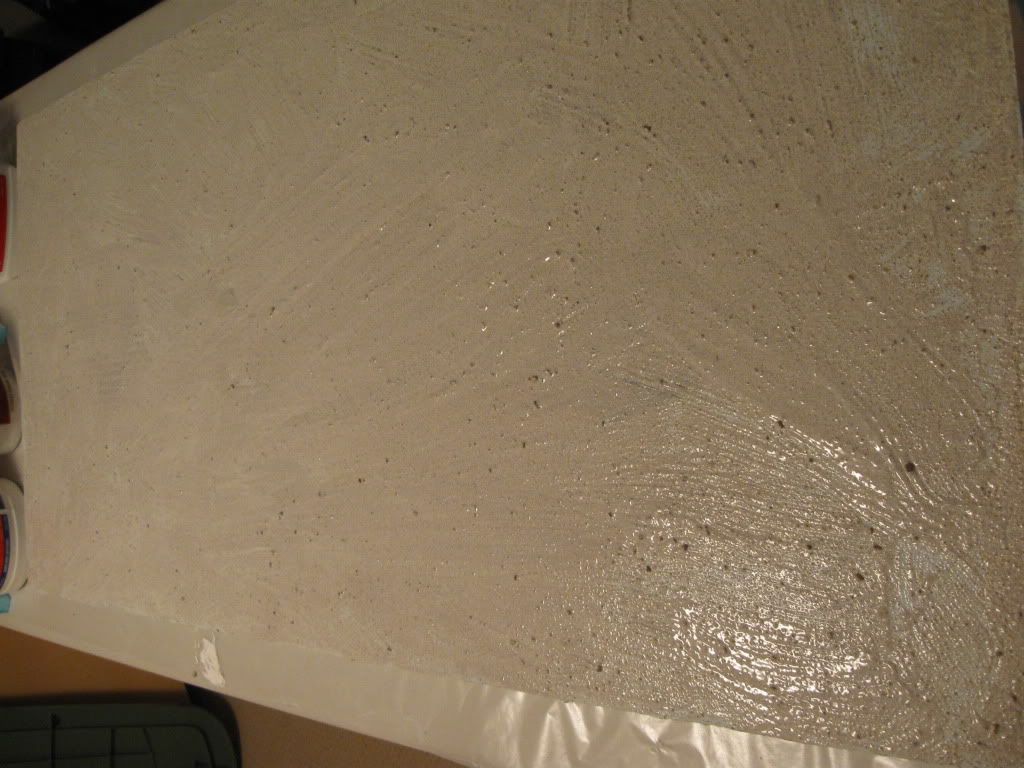
Once dry, the slurry gave a much more solid surface that was resistant to basic wear and tear, if not to dropping a heavy craft knife straight through one foam sheet all the way to the hardboard. More patching plaster and slurry. And yes, I was tempted to stop there and call them desert boards.
No comments:
Post a Comment